Posted 15 July 2025, 6:50 am EST - Updated 15 July 2025, 6:55 am EST
Up to .NET Framework 4.8 we could add custom icon to any control in C1 Ribbon.
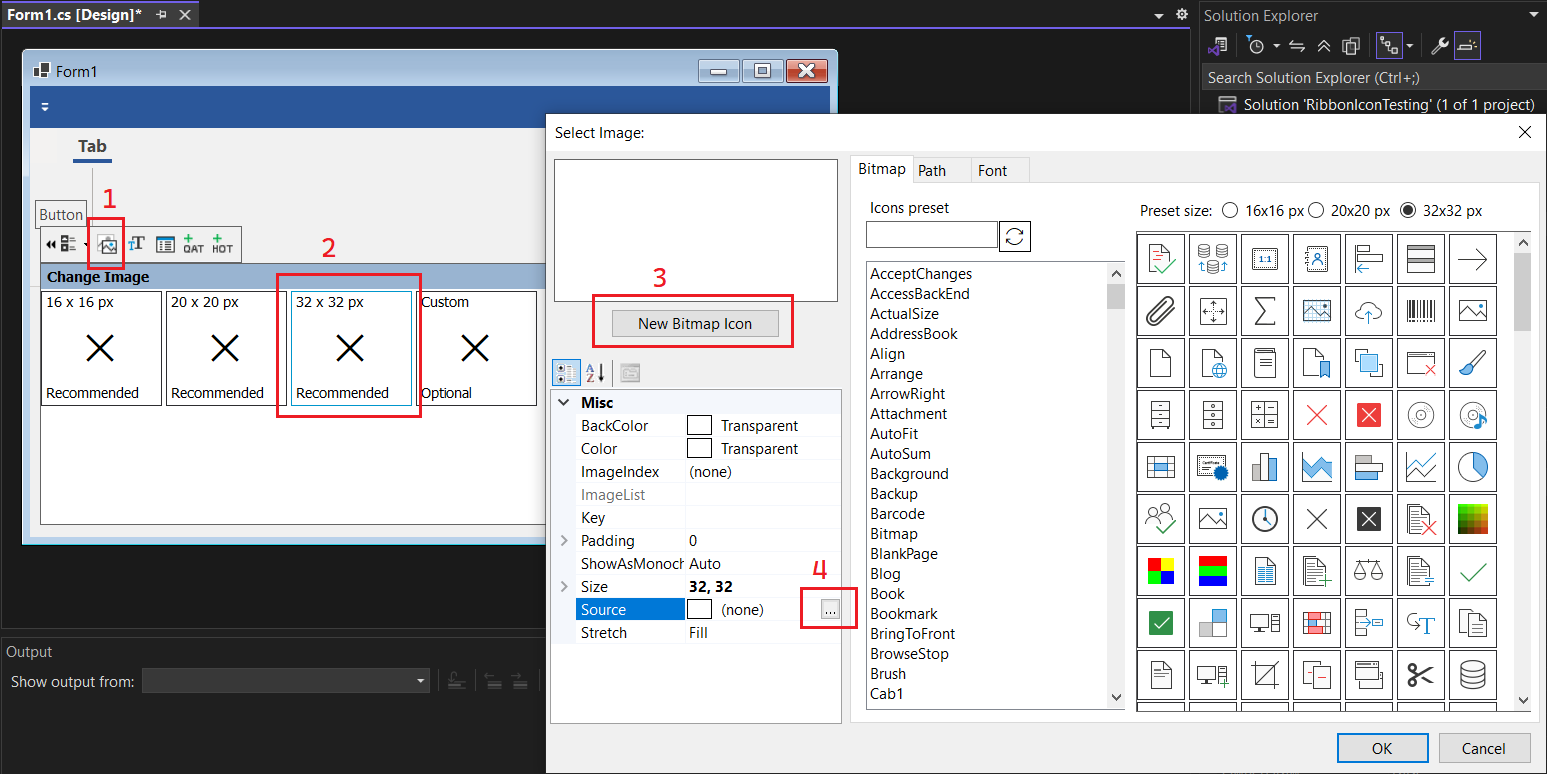
- Hover over a button in C1Ribbon.
- From smart tag 32x32 px (or any size including custom) icon
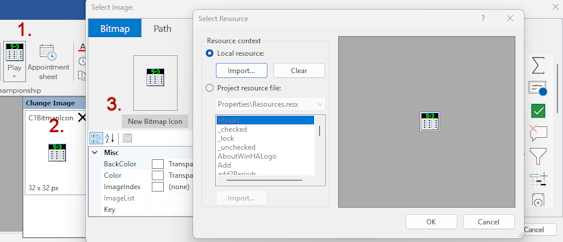
- In Select Image dialog click on New Bitmap Icon.
- The Select Resource dialog appears so we can select any custom image.
(See attached image)
The problem is that setting custom image with smart tag of C1Ribbon does not work in .NET 8 2025v1 version. Clicking on Select Image button does not open the Select Resource dialog so you can’t select a custom image.
Under .NET8 the only way to add a custom image to a control of C1Ribbon is to manually edit the [FormName].designer.cs file and add the needed image from Properties.Resources.[ImageName] manually:
rbutClockStart.IconSet.Add(new C1.Framework.C1BitmapIcon(null, new Size(32, 32), Color.Transparent, Properties.Resources.clockStart));Thanks,
Louis