
Digital Signature Pro
This sample demonstrates how you can digitally sign or set time stamp for a Page/RDLX Report when exporting it to PDF format using the PDF Rendering Extension.
Sample Location
Visual Basic.NET
https://github.com/activereports/Samples19/tree/main/API/PageAndRDLX/DigitalSignaturePro/VB.NET
C#
https://github.com/activereports/Samples19/tree/main/API/PageAndRDLX/DigitalSignaturePro/C#
Details
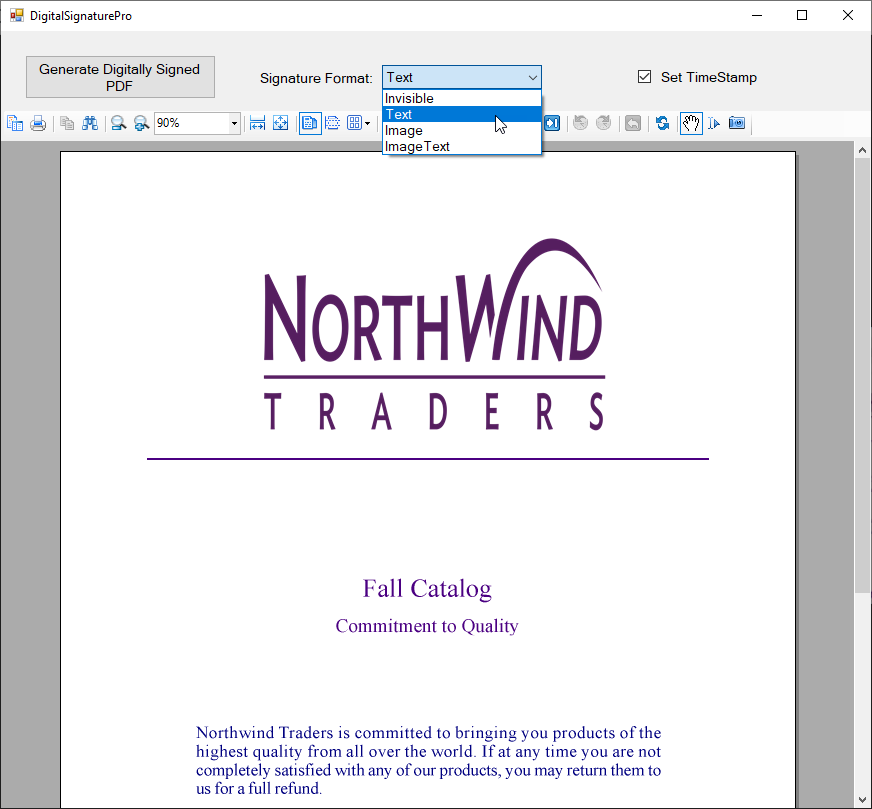
When you run this sample, the Invoice report is displayed in the Viewer control.
Clicking the Generate Digitally Signed PDF button in the Viewer toolbar creates a PDF file with a time stamp or digital signatures, based on the settings you have specified in the Viewer toolbar. You can change the content of signatures in the Signature Format box and you can add the time stamp to the generated pdf file by checking the Set TimeStamp checkbox, in the Viewer toolbar.
When you click the Generate Digitally Signed PDF button, a dialog for saving the destination file appears. After you indicate the location for a new PDF file, the PDF report file is created. Digital signature certificates dynamically reference and use GrapeCity.pfx, included in the project. Also, digital signatures dynamically load and use the gc.bmp file that you can find in the Image folder of this sample project.
type=note
Note: To run this sample, you must have Nwind.db downloaded from GitHub in ..\Samples19\Data\NWIND.db.
Image folder: This folder stores the gc.bmp file with the company logo that digital signatures dynamically load and use.
Catalog report: It shows a multi page layout spread over four pages in the report. The layout in Page1 and Page2 contains Image, Label and Textbox controls to display introductory text. The layout on Page3 contains a List data region with TextBox controls and a Table to display product details for each product category. The layout on Page4 uses Textbox, Shape and Line controls amongst others to create an Order Form, which a user is to fill manually.
GrapeCity.pfx: In order to create a digital signature, you must have a valid PKCS#12 certificate (*.pfx) file. For information on creating a self-signed certificate, see the Adobe Acrobat Help topic "Create a self-signed digital ID."
You can also create a PFX file from the Visual Studio command line. For more information and links to SDK downloads, see https://www.source-code.biz/snippets/vbasic/3.htm.
PDFDigitalSignature form: This is the main form of the Sample that uses the ActiveReports Viewer control in the bottom section of the form, and a panel docked to the top contains the Create Digitally Signed PDF button, the Signature Format box with the drop-down list and the Set TimeStamp checkbox.
Clicking the Generate Digitally Signed PDF button opens a dialog for saving the destination file. After you indicate the location for a new PDF file, the PDF report file is created.
The drop-down list of the Signature Format box contains the following options.
Invisible - the invisible pdf digital signature.
Text - the pdf digital signature that contains text only.
Image - the pdf digital signature that contains graphics only.
ImageText - the pdf digital signature that contains text and graphics.
Checking the Set TimeStamp checkbox allows you to add the time stamp to the signature of the generated pdf file. The time stamp contains the Time Stamp Server address, its login and password information.
Right-click PDFDigitalSignature in the Solution Explorer and select View Code to see the code implementation for the pdf digital signature options.
Resource.resx: This file contains the string for the message box that appears after the PDF file is generated and the string for the message box that appears when the free service limitation is exceeded.
PAdES support. You can use the SignatureFormat setting, allowing to use PAdES (PDF Advanced Electronic Signatures), available in PDF2.0 (ISO 32000-2).
settings.SignatureFormat = GrapeCity.ActiveReports.Export.Pdf.Section.Signing.SignatureFormat.ETSI_CAdES_detachedsettings.SignatureFormat = GrapeCity.ActiveReports.Export.Pdf.Section.Signing.SignatureFormat.ETSI_CAdES_detached;