Create Table Dialog
The Create Table dialog allows users to insert a new table or convert an existing data range into a table.
To access this dialog, follow the steps below:
Select a cell range where you want the table to appear.
Go to the Insert Tab.
Click on the Table button in the Tables group. The Create Table dialog will appear.
The image below demonstrates how to create a table using Create Table dialog.
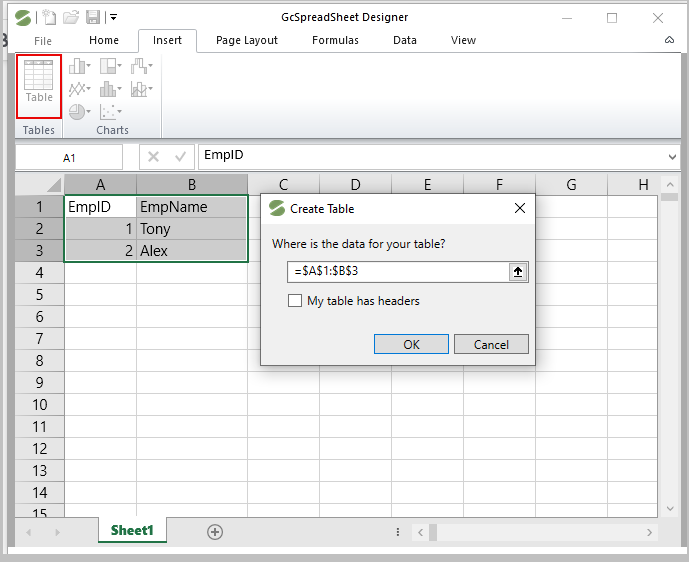
The following options are available in the Create Table dialog.
Cell Range Selection
You can click and drag the cells to select a cell range where the table will be inserted, or you can manually input the cell range for table.
Header Row
To create a table with headers from your selected data, you can check the "My table has headers" checkbox in the "Create Table" dialog. This will convert the first row of your selection into column headers. If unchecked, Spread will add default names like Column1, Column2, and so on. However, you can change these names later if needed.
It is important to note that the checked state of My table has headers check box depends upon the current data in your cells.
The GIF below demonstrates the checked/unchecked state of My table has headers checkbox depending upon the data present in the cells.