
Name Manager Dialog
The Name Manager dialog allows you to create new, edit, and delete defined names in a worksheet/workbook such as named ranges, named formulas, table names and named constants. The dialog allows you to change the scope and reference of named range, and view/edit descriptive comments.
Additionally, you can sort and filter the list of names, making it easy to add, change, or delete names from one location.
To open the Name Manager dialog, select the Formulas tab and in the Defined Names group click Name Manager button. Alternatively, you can use the shortcut CTRL + F3 to open the Name Manager dialog. Once opened, you will see a list of all the named ranges in your workbook.
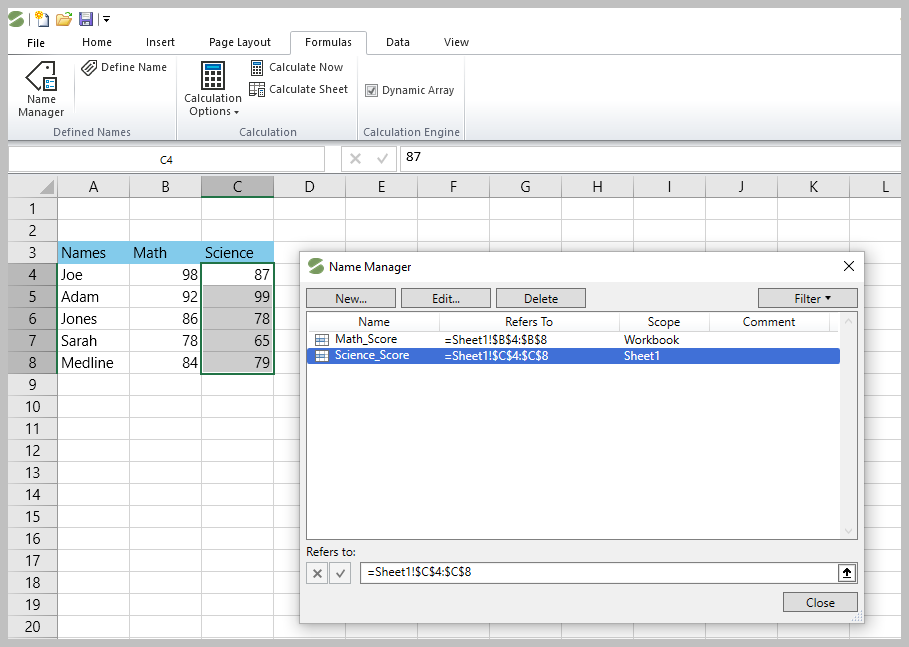
The Name Manager dialog displays the following information about each named range.
Fields in Name Manager dialog window | Description |
|---|---|
Name | Can be a defined name icon/table name icon |
Refers To | The range reference for the name |
Scope | A worksheet name, if the scope is the local worksheet level or “Workbook”, if the scope is the global workbook level. This is the default option. |
Comment (optional) | Additional information about the name up to 255 characters |
Creating, Editing and Deleting Named Ranges
To create a named range, follow these steps:
Select the cell or range of cells you want to give name to.
Open the Name Manager and click on the New… button.
In the New Name dialog, enter a unique name for the selected range.
Define the Scope of the named range (worksheet or workbook).
Refers to box displays the selected cell/range for the named range.
Optionally, provide a Comment to document the named range.
Click OK to create a new named range.
The following GIF displays how to create a new named range using Name Manager dialog.
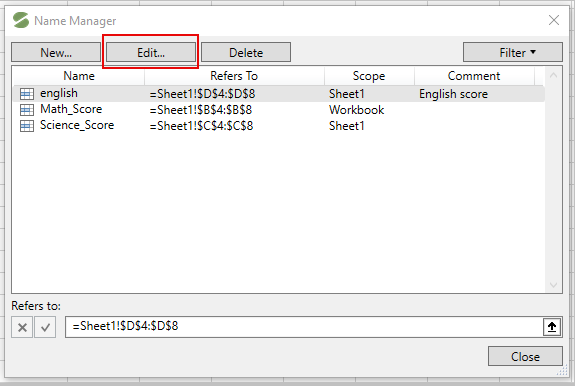
To edit an existing named range, select it from the list in the Name Manager and click on the Edit… button. You can modify the name, range reference, or description.
The following image displays how to edit defined name in Name Manager dialog.
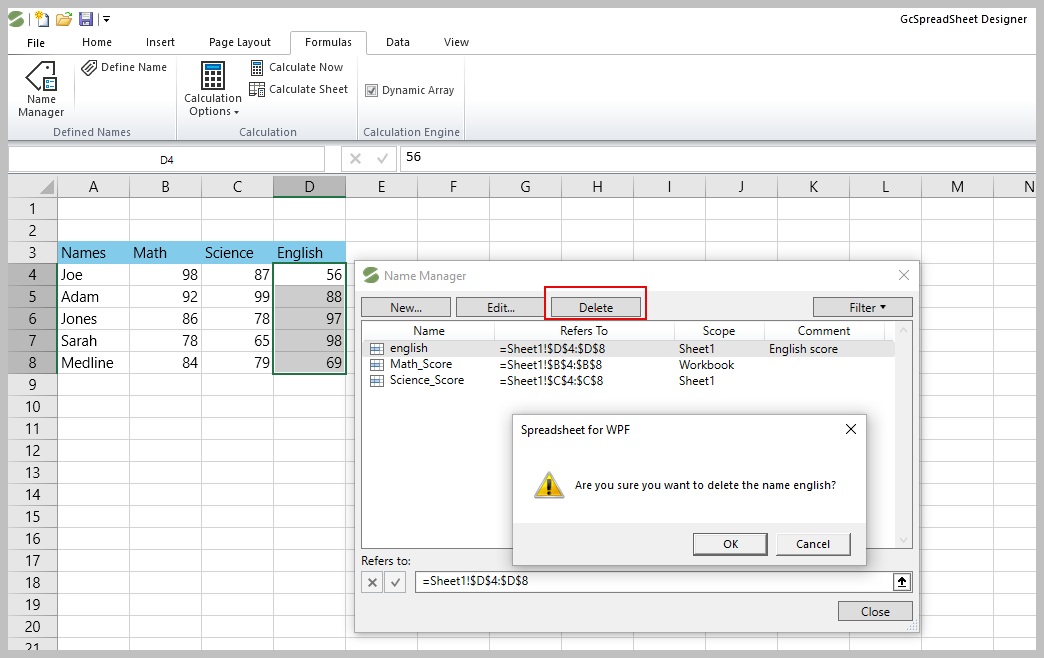
To delete an existing named range, select it from the list in the Name Manager and click on the Delete button.
The following image displays how to delete a named range using Name Manager dialog.
Filtering in Name Manager Dialog
The Filter button in Name Manager dialog allows you to quickly locate specific defined names within a large list of named ranges.
On clicking the Filter button, following options are displayed. You can select any of them as per your requirement.
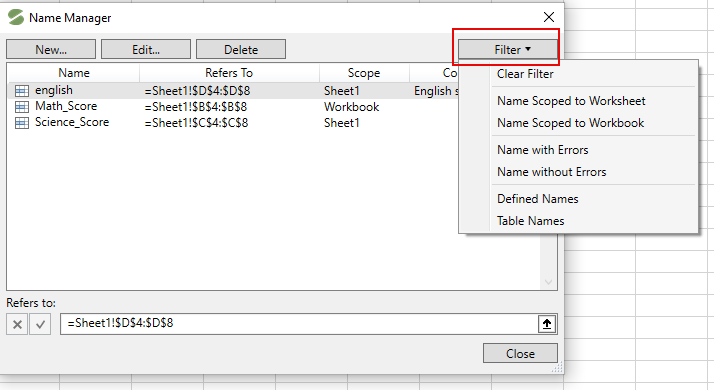
The table below displays the options available in Filter button:
Filter Options | Description |
|---|---|
Clear Filter | Removes previously applied filter |
Names Scoped to Worksheet | Displays only the names that are scoped to the current worksheet |
Names Scoped to Workbook | Displays only the names that are available throughout the entire workbook |
Names with Errors | Displays only the names that contain errors, such as broken references |
Names without Errors | Displays names without errors |
Defined Names | Defined Names excluding table names |
Table Names | Displays only the table names |
The following image displays multiple options available in the Filter dropdown in Name Manager dialog.
Note: If you use the same name for different scopes while defining names, the worksheet takes precedence over the workbook level.